WARNING: WORK IN PROGRESS
The Unofficial Neocities Tutorial Site
This is a quick and dirty crash course for making static sites!

..at least this is all you need to know to make a site sort of like this
NEOCITIES
First thing's first- sign up for Neocities, get yourself some sweet free static web hosting!

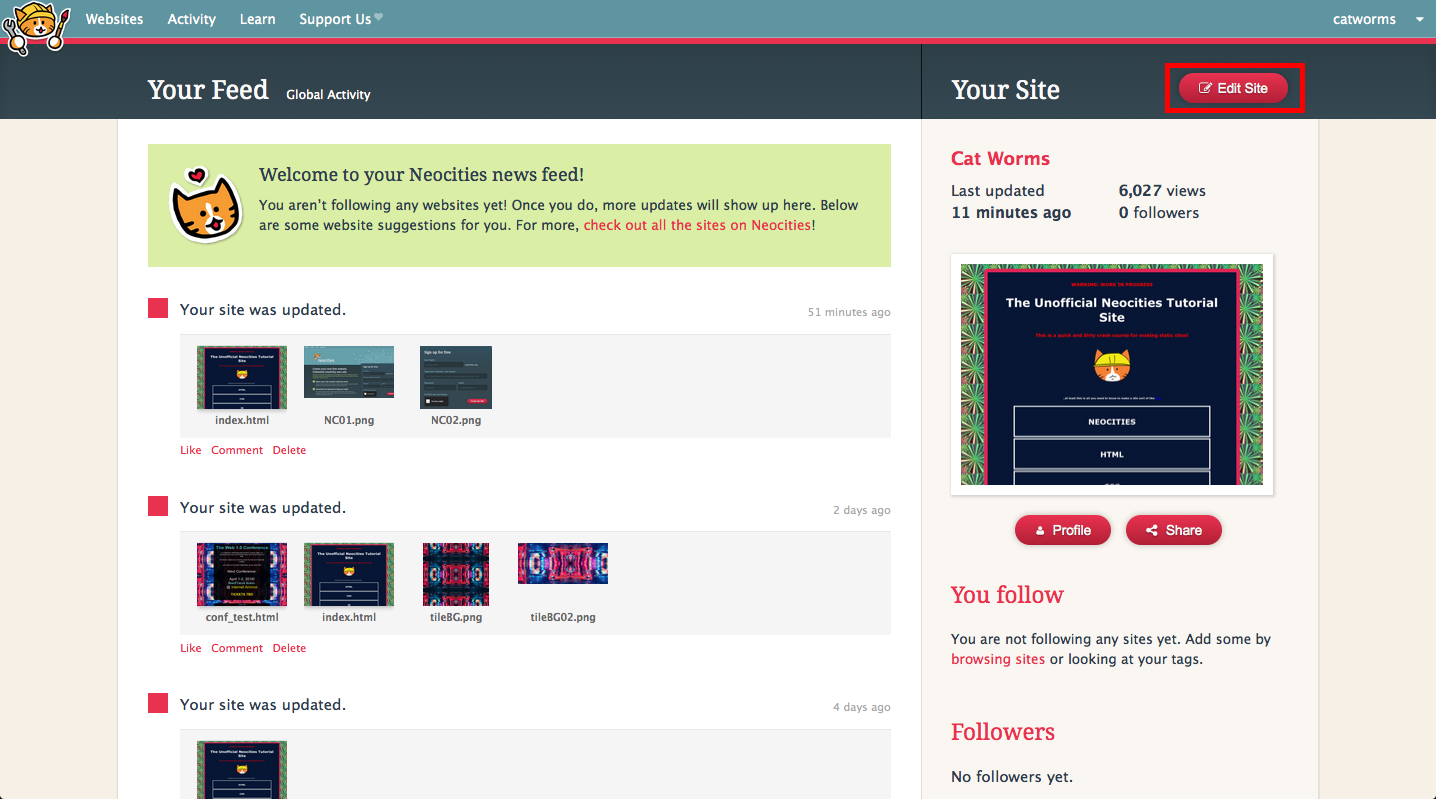
Once that's taken care of head over to the dashboard
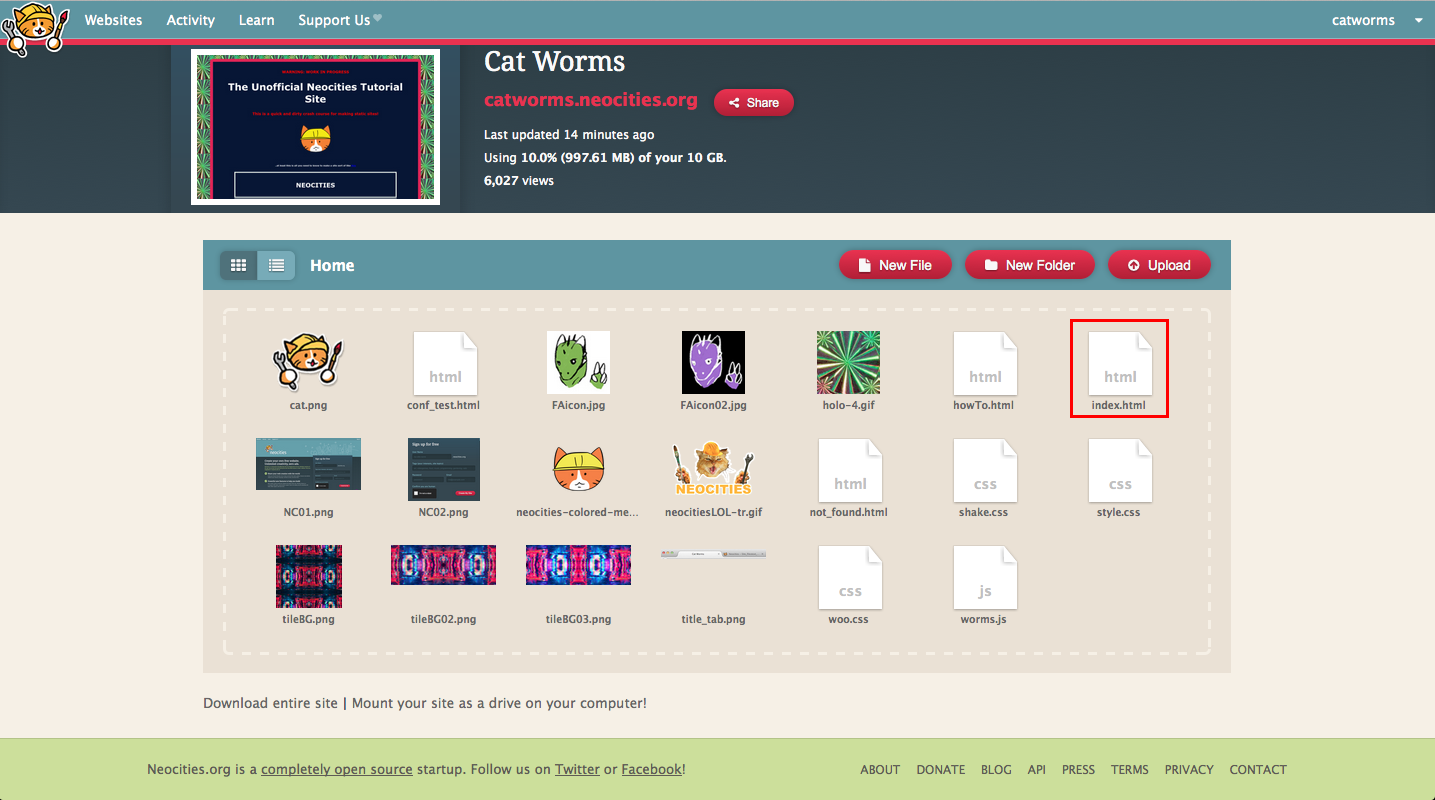
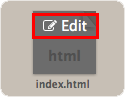
And let's edit your index (this is always the main page of your HTML document)
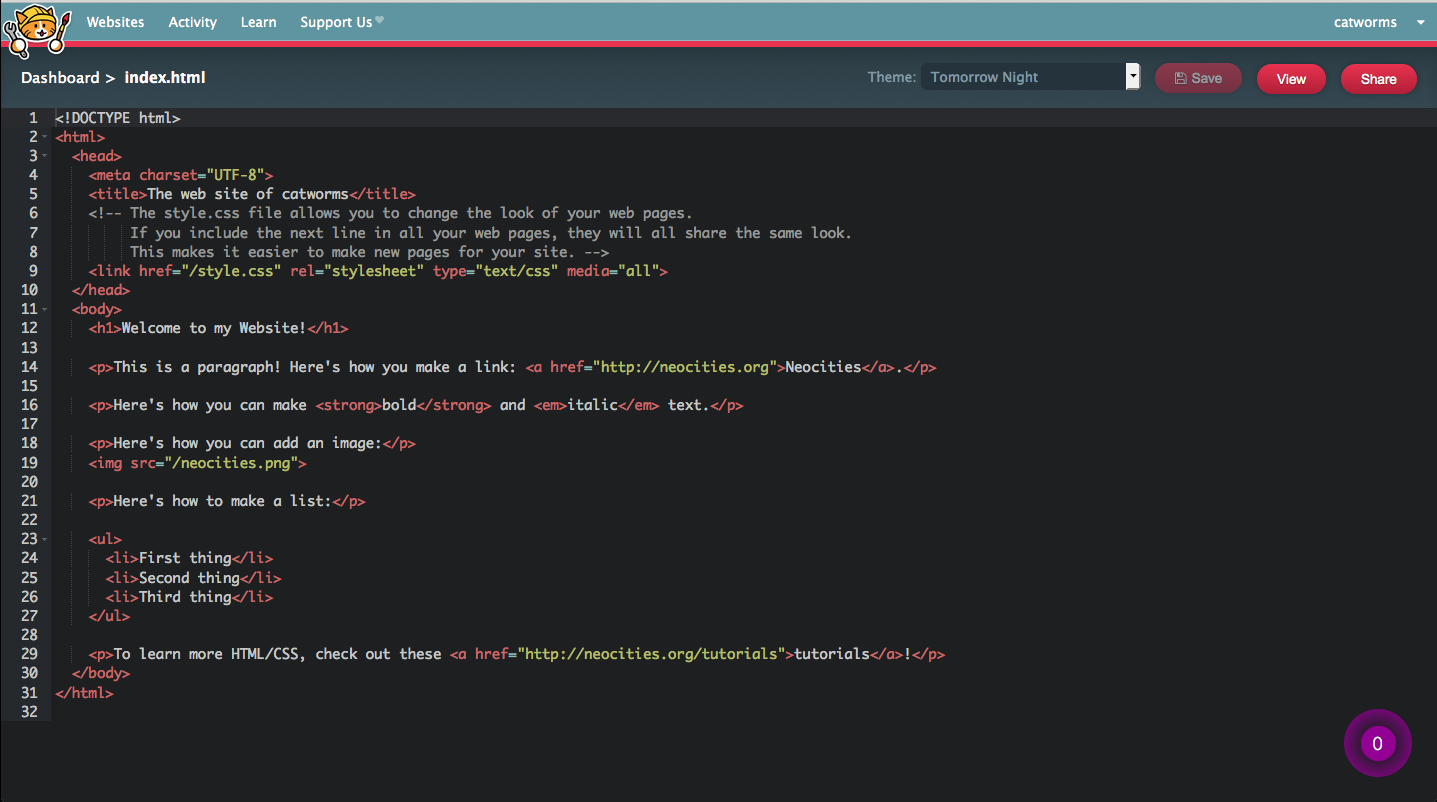
And this is what your editor looks like!
CONGRATS! Lets start making sites-
WHAT?! You don't know how to program?! It's okay, I'll fix that- it really isnt that scary, in fact- once you get the hang of it, it's as fun as any other art form (the way I see it at least).
Think of this as learning a new language, the language of the internet. You can compare it to the dawn of reading and writing, with this tutorial you will be among the literate in an age of mass illiteracy. I don't mean to offend anyone by saying this, but it's true.
Program or be Programmed
HTML
BASICS
These are TAGS
<>
This is an HTML ELEMENT
<element>
You close it like THIS
</element>
Most HTML documents need these essential elements to funtion
<!DOCTYPE html>
<html>
  <head>
    <title>Cat Worms</title>
  </head>
  <body>
    <h1>I will explain what the <h1> means later</h1>
  </body>
</html>
That's literally it. That scrawny thing up there counts as a website.
Anyway!
Websites have their own anatomy, notice the HEAD and the BODY
The HEAD is where you place information ABOUT the page, like the <title> that appears in this thing...

<head>
  <title>Cat Worms</title>
</head>
..but the BODY is where the real meat is.
Doing this
<p>THIS CAT HAS WORMS</p>
allows you to write words into your HTML, you can write as much as you want!
Got it? Easy? Okay let's move on
HEADINGS
This is a HEADING
You create HEADINGS with these <h1></h1> tags
<h1>THIS IS A REDUNDANT HEADING</h1>
h1
h2
h3
h4
h5
h6
IMAGES
This tag allows you to insert an IMAGE
<img src="cat-worms.gif">

Aww, look at that badass cat..
LINKS
This tag allows you to create a LINK
<a href="URL-goes-here.com">LINK TITLE!</a>
LINK EXAMPLE!
You can easily turn an image into a link by inserting the image element INSIDE the tags of the link element
IT LOOKS LIKE THIS!
<a href="URL-goes-here.com"><img src="cat-worms.gif"></a>
I simply replace the text LINK TITLE! with the image element
AND IT DOES THIS!
what else...
LISTS
I usually use lists to create my navigation menu, but they have many uses. The element looks like this:
<ul>
  <li>Cats</li>
  <li>Worms</li>
  <li>Veterinarians</li>
</ul>
<ul> stands for unordered list, <li>'s are the individual items on the list, they always go inside the <ul>
(there are also <ol> -ordered lists, which are numerical. For now lets focus on <ul> -unordered lists)
DIV's
These things are THE BEST! Sometimes they are referred to as blocks, but you always write them like this
<div></div>
They are useful for all sorts of things! it's kind of like having a blank element to group other elements into, this means that anything within the div will be affected by the div, it's how the sliding panels, code boxes and the border around this tutorial were created.
<div id="cat-box">
    <img src="cat.png">
</div>
TABLES
Tables act like grids, they have colums and rows, and can be used for everything from spreadsheets to image galleries. This is how you write a table
<table>
  <tr>
    <td>Cat 01</td>
    <td>Cat 02</td>
    <td>Cat 03</td>
   </tr>
  <tr>
    <td>Worm 01</td>
    <td>Worm 02</td>
    <td>Worm 03</td>
   </tr>
</table>
You start by defining the TABLE, followed by the table ROWS, and finally adding the table DATA
You can also add borders and fancy stuff like that- but this is tables in a nutshell
Get creative with the Tables!
I-FRAMES
Iframes are a way to display web pages within web pages, and you could potentially put web pages within those web pages
I'm not going to make the stupid inception joke
this is the code for an Iframe
<iframe style="margin-left:-40px;" src="http://thebookoffur.neocities.org/"
    width="950" height="200"></iframe>
VIDEO/AUDIO
I know half or you are going to want to do this. It's almost as irresistable as animated GIFS.
Here's the code for VIDEO
<video width="320" height="240" controls>
  <source src="movie.mp4" type="video/mp4">
  <source src="movie.ogg" type="video/ogg">
</video>
Here's the code for AUDIO
<audio controls>
  <source src="sound.mp3" type="audio/mp4">
  <source src="sound.ogg" type="audio/ogg">
</audio>
and if you want to sneak youtube into an Iframe, that's totally okay
<iframe width="420" height="345"
  src="http://www.youtube.com/embed/XGSy3_Czz8k">
</iframe>
WARNING
Only MP4, WebM, and Ogg video are supported by the newest HTML5 standard
Only MP3, WAV, and Ogg audio are supported by the newest HTML5 standard
of course you could always hack it..
A FEW OTHER HELPFUL HTML ELEMENTS
This is a page break
<br>
it
breaks
lines
up
You do NOT need to close this tag with a </br>
I tend to use this thing a lot..
Now for some text formatting
This is strong
This is italic
This is emphasized
This is Small
This is Marked
This is red blue
This is subscripted
This is superscripted
<p><strong>This is strong</strong></p>
<p><i>This is italic</i></p>
<p><em>This is emphasized</em></p>
<pre>This is <small>Small</small></p>
<p>This is <mark>Marked</mark></p>
<p>This is <del>red</del> blue</p>
<p>This is <sub>subscripted</sub></p>
<p>This is <sup>superscripted</sup></p>
COMMENTS
One last thing I need to show you about HTML, COMMENTS! Comments do NOT show up on your page, you use it to annotate your code so you and others can keep track of what you are doing
<!--This is a comment-->
WOO!
That's it for the HTML. Move along now-
CSS
Basics
CSS is where you alter the LOOKS of your page (it stands for cascading style sheets.. something like that)
CSS looks like this:
selector{

  declaration: value;

}
OR IN REALITY
body{

  background-image: URL("holo-4.gif");
  background-color: red;
  font-family: Verdana;

}
that's how the aesthetics of this page were created!
SELECTORS
You can use selectors to control entire elements:
body{

  background-image: URL("holo-4.gif");
  background-color: red;
  font-family: Verdana;

}
OR you can make your own selectors using CLASS and/or ID. This must be done in the HTML element
This is a CLASS:
<p class="CLASS_NAME" >Learning how to code</p>
This is an ID:
<p id="ID_NAME">Learning how to code</p>
Okay now head over to where you are writing your CSS
Your CLASS will begin with a . like this
.class{
  background-image: URL("holo-4.gif");
  background-color: red;
  font-family: Verdana;
}
You start your ID's with a # symbol like so
#ID{

  background-image: URL("holo-4.gif");
  background-color: red;
  font-family: Verdana;

}
Classes and ID's are very useful when you need changes made to a set of elements all at once, anything with the .CLASS or #ID will be affected
ADDING CSS TO YOUR WEBPAGE
1. INLINE CSS:
This uses the- style="declaration: value" - within the element of HTML you have written
<a style="color: red;" href="URL-goes-here.com"></a>
2. INTERNAL CSS:
This is added in the body using the <style> tag, preferably before your HTML so you know where it is
<style>
  .class{
    background-image: URL("holo-4.gif");
    background-color: red;
    font-family: Verdana;
    }
</style>
3. EXTERNAL CSS
This element is different from the links we use to navigate, instead it links you HTML page with your seperate CSS page
<head>
    <link href="/style.css" rel="stylesheet" type="text/css" media="all">
</head>
because adding all of that custom CSS in your page gets bulky after a while
BACKGROUNDS
These are CSS background properties and the values they accept
- background-color:
#HEX, RGB(R, G, B), valid colors (red, white, black, etc)
- background-image:
url("something.gif") - background-repeat:
repeat, repeat-x, repeat-y, no-repeat, initial, inherit
- background-attachment:
scroll, fixed, local, initial, inherit
- background-position:
left top, left center, left bottom, right top, right center, right bottom, center top,
            center center, center bottom, xpos, ypos, initial, inherit
The background is usually put in a BODY selector like so
body{

  background-image: URL("holo-4.gif");
  background-color: red;
  background-repeat: no-repeat;
  background-position: right top;
  background-attachment: fixed;

}
Pretty easy, right! Cool!
TEXT
Here I will show you how to add CSS to your text!
- color:
#HEX, RGB(R, G, B), valid colors (red, white, black, etc)
- text-align:
right, left, center, justify
- text-decoration:
overline, line-through, underline, none
- text-transform:
uppercase, lowercase, capitalize
- text-indent:
0-100%
- letter-spacing:
0-100%
- word-spacing:
0px
- line-height:
0px
- direction:
ltr, rtl, initial, inherit
p{

  color: red;
  text-align: right;
  letter-spacing: 25%;
  line-height: 10px;

}
FONT
Times New Roman, Verdanda, Courier, etc.
normal, italic, oblique
0px, %, em
normal, bold, bolder, lighter, 100 - 900
normal, small-caps
p{

  font-family: Verdanda;
  font-style: normal;
  font-size: 50px;

}
BORDERS
The CSS border properties allow you to specify the style, width, and color of an element's border
- border:
solid, dashed, dotted, double, groove, ridge, inset, outset, none, hidden
border: 1px solid black;
LINKS
There are four states that CSS uses to stylize links they are
- a:link
- a:visited
- a:hover
- a:active
You can do some really wierd stuff to your links, here's how
- color:
#HEX, RGB(R, G, B), valid colors (red, white, black, etc)
- background-color:
#HEX, RGB(R, G, B), valid colors (red, white, black, etc)
- text-decoration:
none, underline
You can also change the font-family, the size, or give the link a border. Check it out!
a: link{

  font-family: Verdanda;
  color: red;
  font-size: 50px;

}

a: hover{

  font-family: courier;
  background-color: blue;
  color: white;
  font-size: 70px;

}
TABLES
To specify table borders in CSS, use the border property.
- border:
solid, dashed, dotted, double, groove, ridge, inset, outset, none, hidden
- border-collapse:
seperate, collapse, initial, inherit
- border-spacing:
length
- caption-side:
top, bottom, initial, inherit
- empty-cells:
show, hide, initial, inherit
table{

  border: 2px solid blue;

}

tr{

  font-family: Verdanda;
  color: red;
  font-size: 50px;

}

tr, td{

  background-color: blue;

}
DISPLAY
The display property specifies if/how an element is displayed. The default display value for most elements is block or inline.
inline, block, flex, inline-block, inline-flex, inline-table, list-item
div{

  background-color: blue;
  display: inline-block;

}
POSITION
The position property specifies the type of positioning method used for an element (static, relative, fixed or absolute)
- bottom:
auto, length, %, initial, inherit
- clip:
auto, shape, initial, inherit
- cursor:
alias, all-scroll, auto, cell, context-menu, col-resize, copy, crosshair, default, e-resize, ew-resize, grab, grabbing, help, move, n-resize, ne-resize, nesw-resize, ns-resize, nw-resize, nwse-resize, no-drop, none, not-allowed, pointer, progress, row-resize, s-resize, se-resize, sw-resize, text, URL, vertical-text, w-resize, wait, zoom-in, zoom-out, initial, inherit - left:
auto, length, %, initial, inherit
- overflow:
visible, hidden, scroll, auto, initial, inherit
- overflow-x:
visible, hidden, scroll, auto, initial, inherit
- overflow-y:
visible, hidden, scroll, auto, initial, inherit
- position:
static, absolute, fixed, relative, initial, inherit
- right:
auto, length, %, initial, inherit
- top:
auto, length, %, initial, inherit
and my favorate, z-index! You use this declaration to layer objects on your page, just imagine it as simulating an extra dimension of space, this is the z axis!
- z-index:
positive or negative numerical values
#thing1{

  background-color: blue;
  display: inline-block;
  position: absolute;
  z-index: -1;

}

#thing2{

  background-color: blue;
  display: inline-block;
  position: absolute;
  z-index: 2;

}
JavaScript
BASICS
JavaScript is the most popular programming language in the world, it is the programming language of HTML and the Web!
Hear's how you use it
1. INTERNAL JS:
You can place any number of scripts in an HTML document. Scripts can be placed in the <body>, or in the <head> section of an HTML page, or in both
<script>
  <p id="demo">Check out what JS can do!</p>
  document.getElementById("demo").innerHTML = "My First JavaScript";
</script>
2. EXTERNAL JS:
External scripts are practical when the same code is used in many different web pages. JavaScript files have the file extension .js
<head>
  <script src="myScript.js"></script>
</head>
CHANGING ELEMENTS
One of many HTML methods is getElementById()
Check out what JS can do!
        <p id="demo">Check out what JS can do!</p>
        <button type="button"
        onclick="document.getElementById('demo').innerHTML = 'WOO!'">
        Click</button>
YEAH! Now try it with an image!

Click the DRAGON
      <script>
        function changeImage() {
            var image = document.getElementById('myImage');
            if (image.src.match("FAicon")) {
                image.src = "FAicon.jpg";
            } else {
                image.src = "FAicon02.jpg";
            }
        }
      </script>
VARIABLES
Okay, so in before we get into writing our own Javascript code we need to learn about the nuts and bolts, starting with VARIABLES
var cats = 5;
var worms = 15;

var cat_worms = cats + worms;
In Javascript, variables act like containers for storing DATA TYPES- you can call them anything, just be sure to name them!
Aside from numbers, variables can also store words called STRINGS
var cats = "meow";
var worms = "Hello kind feline, we are a colony of tapeworms";
Here are a few ways you can write variables
var cats = "meow", dogs = "woof",  horses = "hello my friends";

//or

var cats = "meow"
dogs = "woof"
horses = "hello my friends";
You can also leave the variable empty, and give it a value later
var cats;

cats = "meow";
Here's a simple example of how a variable can be inserted into your HTML
<p id="cat"></p>

<script>
  var catName = "Penelopie";
  document.getElementById("cat").innerHTML = catName;
</script>
The value of <p> will change from being empty to saying: Penelopie
Variables are super useful!
OPERATORS
Some operators are intuitive
+ , - , * , /
Others however have special significance when it comes to programming javascript
% (modulus), ++ (increment), -- (decrement)
The modular operator (%) returns the division remainder
The increment operator (++) increments numbers.
The decrement operator (--) decrement numbers.
DATA TYPES
JavaScript variables can hold many data types: numbers, strings, arrays, objects and more!
var length = 20;                                        // Number
var catName = "Penelope";                               // String
var cats = ["Siamese", "Tabby", "Persian"];             // Array
var x = {catName:"Penelope", status:"Not Infected"};    // Object
var worm = false;                                       // Boolean
Okay let me explain what each of these cryptic things are...
- Number: Your standard number... like 1, 2, 3, 3.3, 3.4, 3.5...
- String: This is how you represent words
- Array: A way to store multiple data objects like numbers and strings
- Object: An object is a variable with many properties
- Boolean: Booleans can only have two values: true or false
You can do wierd things like this:
var x = 3 + 7 + 10 + "Cats";
this would return 20Cats! That's because it reads the imput as numbers until it reaches the string.
But if you write it backwards, with the string FIRST
var x = "Cats" + 3 + 7 + 10;
This would print Cats3710 - that's because once the variable reads "Cats" as a string, it reads the numbers as strings too.
FUNCTIONS
A JavaScript function is a block of code designed to perform a particular task.
Functions are the meat of Javascript, this is where the magic happens
function name(parameter1, parameter2, parameter3) {
  code to be executed
}
You start a JavaScript function the function keyword, followed by a name, followed by parentheses ()
Keep in mind you can name a function with letters, digits, underscores, and dollar signs (same rules as variables)
These parentheses usually include parameter names separated by commas: (parameter1, parameter2, etc...)
Finally, the code to be executed by the function is placed inside curly brackets: {}
OBJECTS
SO- say I'm an object
Say I'm a cat!

As a cat, I have certain properties- I can assign these properties to myself as follows
var cat = {breed:"Tabby", type:"Shorthair", color:"Orange", gender:"Female"};
Remember when I taught you variables!
Here's one way you call an object
document.getElementById("demo").innerHTML = car.type;